파일 업로드와 model 2
✒️ 2025-05-26 11:00 내용 수정
model 2
- 오라클과 연동#model1과 다르게 기능에 따라 클래스와 JSP를 분리시키는 방법이다.
- 오라클과 연동하기 위해선 오라클과 연동#1. 데이터베이스 연결 클래스를 생성해야 한다.
- MVC 패턴으로도 부르며, Model(DTO), View(JSP), Controll(Servlet) 이다.
- 데이터 객체#DTO(Data Transform Object), Servlet, JSP(Jakarta Server Pages) 를 모두 활용
사전 준비
라이브러리 다운로드
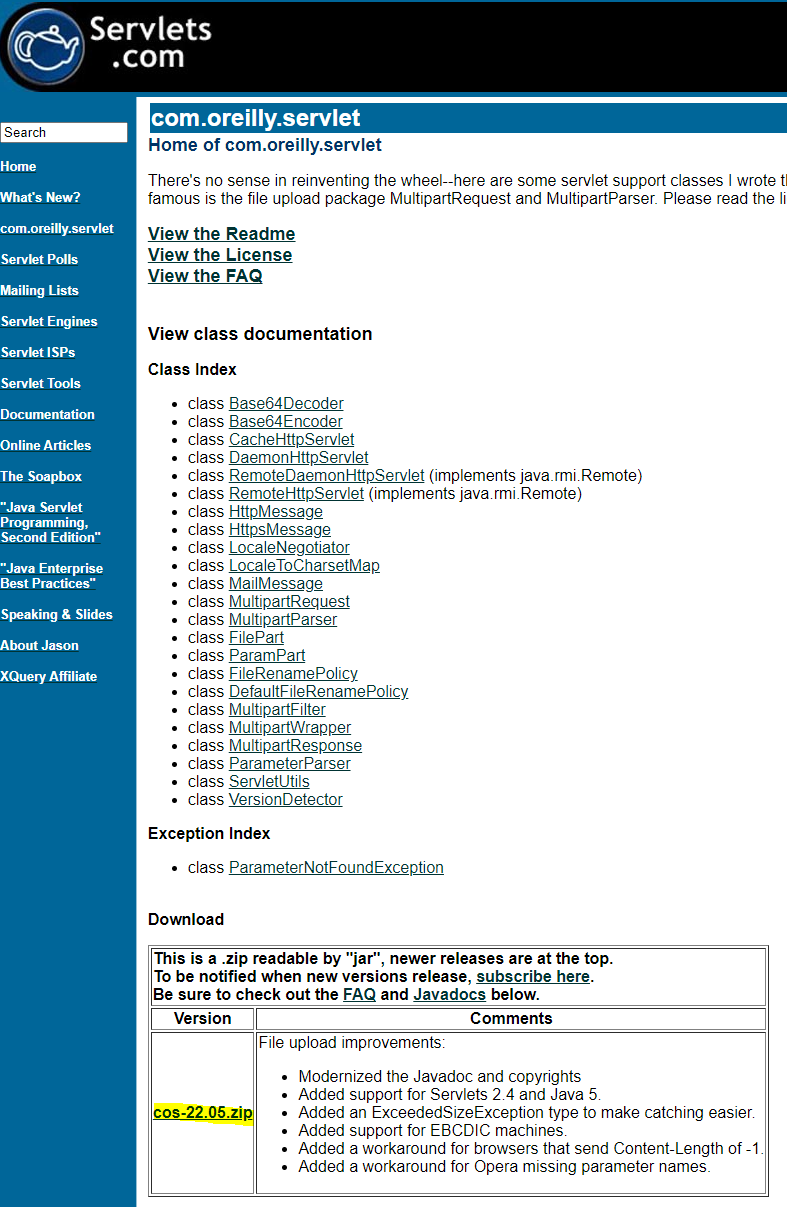
- servlets.com 에 접속해서 COS File Upload Library 메뉴를 선택한다.
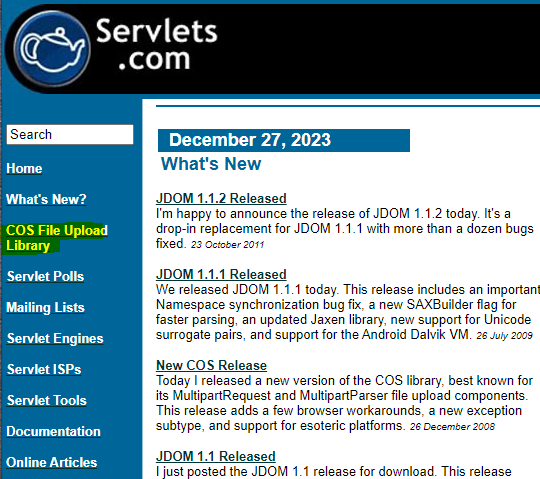
- Download의 cos-22.05.zip을 다운로드한다. 다운로드가 진행이 안되면 안전하지 않은 다운로드가 차단되었을 가능성이 높으므로 다운로드 창을 눌러 계속을 눌러준다.

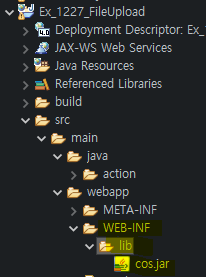
- 다운 받은 파일을 압축 해제한 뒤, cos-22.05 -> lib 폴더 내의 cos.jar를 복사한다.
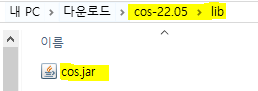
- Eclipse를 실행해서 적용할 프로젝트의 src - main - webapp - WEB-INF - lib 폴더에 붙여 넣는다.
파일을 저장할 폴더 생성
- 실습에서 웹 페이지에 이미지 파일을 업로드하면 서버 컴퓨터에서 해당 파일을 저장하고, 사용자에게 웹 페이지로 해당 이미지 파일을 보여주도록 설정한다.
- 이전까진 데이터의 전송 및 처리를 JSP에서 만들었으나, 이를 Servlet 클래스가 수행하도록 만들어 불필요한 JSP을 늘리지 않고 작업할 수 있다.
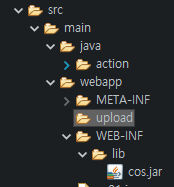
- 프로젝트 내에서는 외부 경로(예: c 드라이브)에 접근할 수 없기 때문에 프로젝트 내에 이미지 파일을 저장하기 위한 폴더를 생성한다.
| 경로 | 설명 |
|---|---|
| 상대 경로 | 프로젝트 내에서 볼 수 있는 폴더의 경로. 웹 디자인을 위한 이미지를 넣음. |
| 절대 경로 | 상대 경로와 연결되어 있는 컴퓨터 내의 실제 폴더의 경로 |
| 상대 경로에 넣은 데이터는 절대 경로에 들어가지만, 절대 경로에 직접 넣은 데이터는 상대 경로에서 보이지 않는다. |
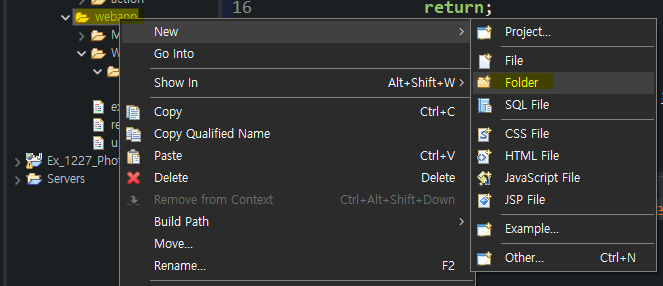
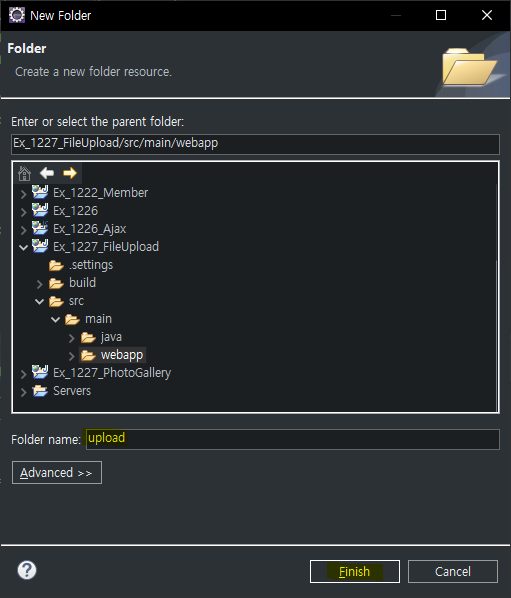
- Eclipse에서 프로젝트 내의 src - main - webapp에 우클릭을 눌러 폴더를 생성한다.
파일 업로드
1. 파일을 업로드할 JSP 생성
- "POST" 방식은 바이너리로 파일을 전송하기 때문에 이미지나 파일 전송에 적합하다.
<%@ page language="java" contentType="text/html; charset=UTF-8"
    pageEncoding="UTF-8"%>
<!DOCTYPE html>
<html>
<head>
<meta charset="UTF-8">
<title>Insert title here</title>
	<script type="text/javascript">
		function send(f) {
			var title = f.title.value.trim();
			var image = f.image.value.trim();

			// 유효성 검사
			if(title == '') {
				alert("이름을 입력해주세요");
				return;
			}

			if(image == '') {
				alert("파일을 업로드해주세요");
				return;
			}

			// 호출할 Servlet의 @WebServlet("/upload")
			f.action = "upload";
			f.submit();
		}

	</script>
</head>
<body>

	<form method="POST" enctype="multipart/form-data">
		이름 : <input name="title"><br>
		파일 : <input type="file" name="image"><br>
		<input type="button" value="업로드" onclick="send(this.form)">
	</form>
</body>
</html>
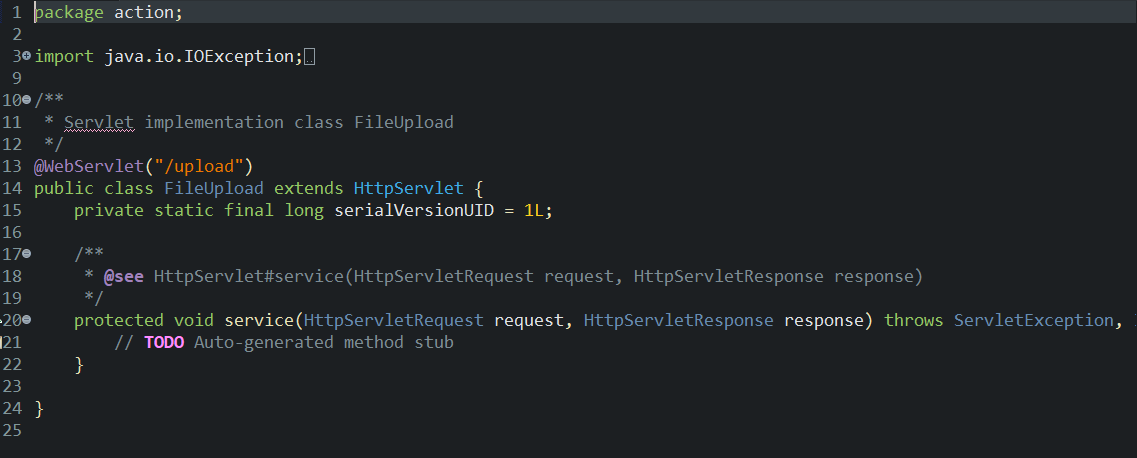
2. 전달 받은 파일을 저장하고 전송할 Servlet 생성
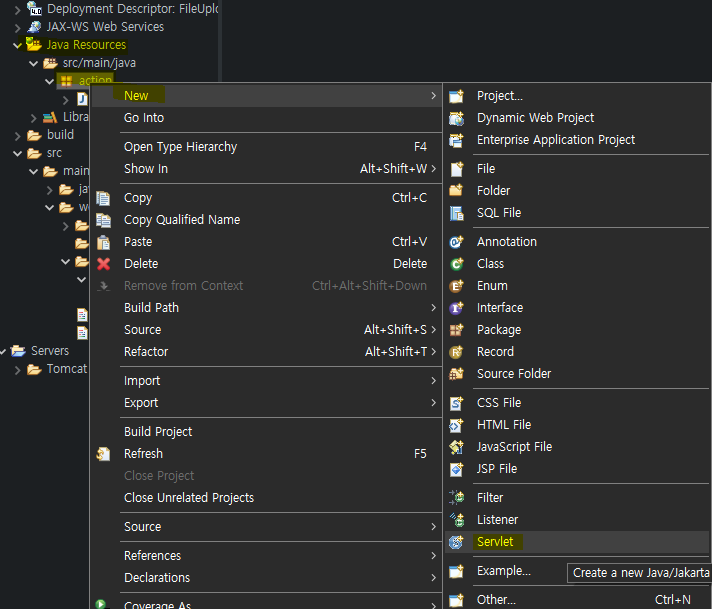
- Java Resources에 패키지를 만들고 우클릭 - New - Servlet을 선택한다.
- Class name에 클래스 이름을 작성하고 Next를 누른다.

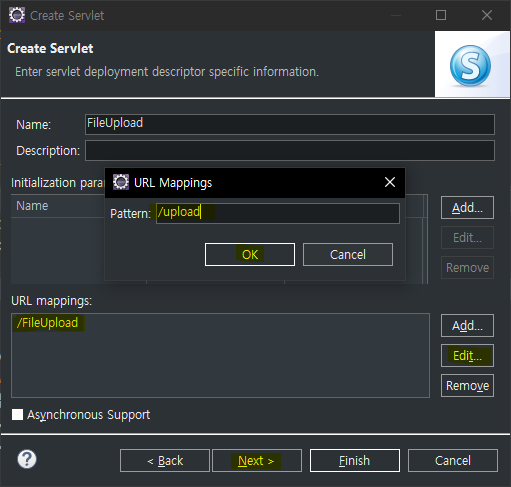
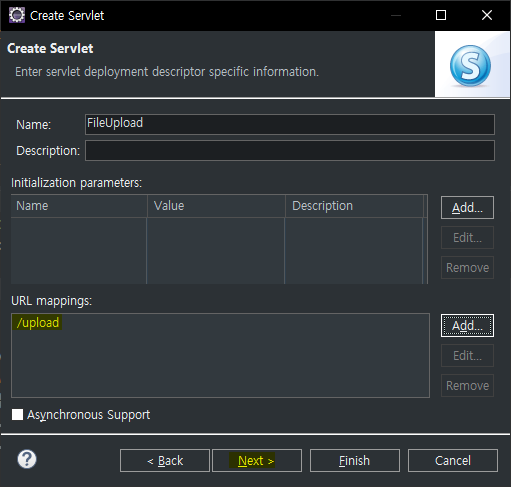
- URL mapping을 선택하고 Edit을 눌러 파일 업로드와 model 2#1. 파일을 업로드할 JSP 생성에서
f.action = "upload";로 작성했던 upload를 입력한 뒤 OK를 누르고 Next를 누른다.
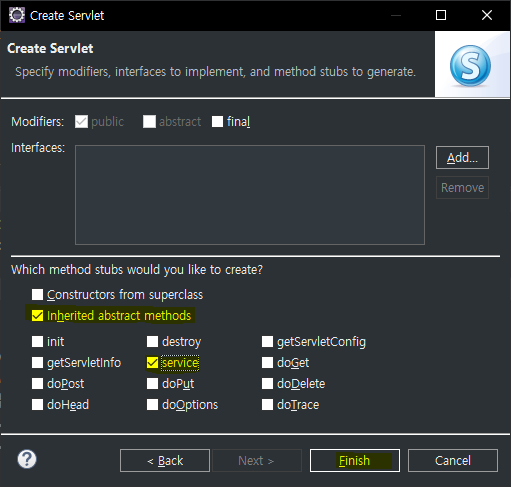
- method 생성은 service와 inherited abstract methods만 체크한다.
- 다른 메서드가 필요하면 선택해준다.
- 이 방법으로 Servlet을 쉽게 제작할 수 있다.
package action;
import java.io.File;
import java.io.IOException;
import javax.servlet.RequestDispatcher;
import javax.servlet.ServletContext;
import javax.servlet.ServletException;
import javax.servlet.annotation.WebServlet;
import javax.servlet.http.HttpServlet;
import javax.servlet.http.HttpServletRequest;
import javax.servlet.http.HttpServletResponse;
import com.oreilly.servlet.MultipartRequest;
import com.oreilly.servlet.multipart.DefaultFileRenamePolicy;
@WebServlet("/upload")
public class FileUpload extends HttpServlet {
private static final long serialVersionUID = 1L;
protected void service(HttpServletRequest request, HttpServletResponse response) throws ServletException, IOException {
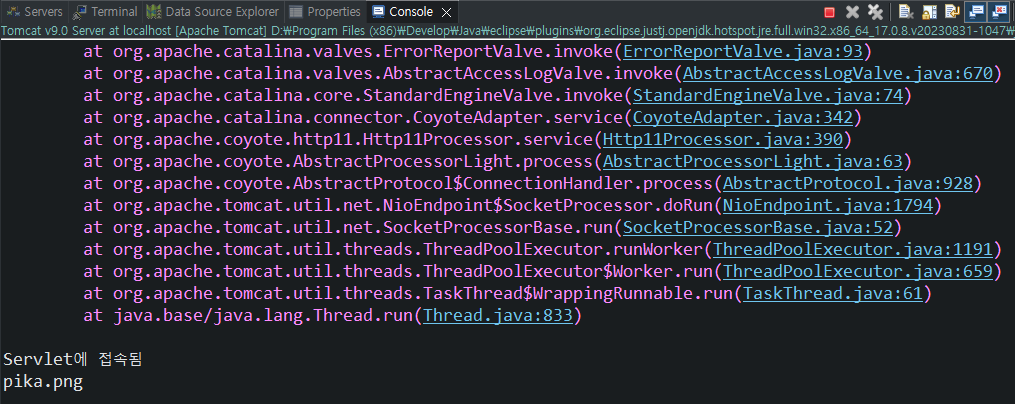
// Servlet 접속 확인을 위한 출력
System.out.println("Servlet에 접속됨");
// POST로 전송했기에 인코딩 설정
request.setCharacterEncoding("utf-8");
// 프로젝트 내의 upload 폴더 상대경로
String filePath = "/upload/";
ServletContext application = request.getServletContext();
// 프로젝트 내의 상대 경로를 절대 경로로 변경
String path = application.getRealPath(filePath);
//System.out.println("절대경로 "+path);
// 파일 최대 크기를 100mb로 설정
int max_size = 1024 * 1024 * 100;
// 파일 업로드 설정
// MultipartRequest 객체가 파일 업로드를 담당함
// DefaultFileRenamePolicy 객체로 중복된 이름의 파일이 들어오면 이름에 숫자를 추가
MultipartRequest mr = new MultipartRequest(request, path, max_size, "utf-8", new DefaultFileRenamePolicy());
String fileName = "no_file"; // 업로드된 파일이 없을 때 이름
// 업로드가 완료된 파일의 정보를 얻어옴
// 파일 업로드 페이지에서 name="image"를 전송했음
File f = mr.getFile("image");
if (f != null) {
fileName = f.getName(); // 실제 파일 이름을 가져옴
System.out.println(fileName);
}
// 파일 이외의 일반 파라미터
// 파일 업로드 페이지에서 name="title"을 전송했음
String title = mr.getParameter("title");
// 파일명과 제목을 requestScope 영역에 저장
request.setAttribute("title", title);
request.setAttribute("fileName", fileName);
// 포워딩(바인딩해준 내용을 JSP에 전달)
// Servlet에선 RequestDispatcher 객체를 통해서만 forwarding 가능
RequestDispatcher disp = request.getRequestDispatcher("ex02.jsp");
disp.forward(request, response);
}
}
3. 전송된 파일을 보여줄 JSP 생성
<%@ page language="java" contentType="text/html; charset=UTF-8"
pageEncoding="UTF-8"%>
<!DOCTYPE html>
<html>
<head>
<meta charset="UTF-8">
<title>Insert title here</title>
</head>
<body>
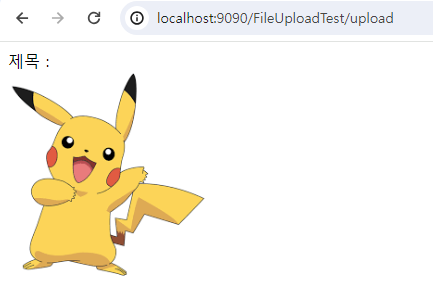
제목 : ${image} <br>
<img src="upload/${fileName}" width="200">
</body>
</html>
- 먼저 파일 업로드와 model 2#1. 파일을 업로드할 JSP 생성에서 JSP를 실행해주고, 웹 페이지가 정상적으로 뜨면 이름과 파일을 넣고 업로드를 누른다.

- 업로드하고 조금 기다리면 새 페이지에서 업로드한 이미지가 뜬다.
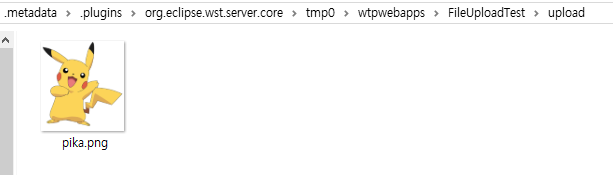
- 절대 경로에 갔을 때 파일이 추가된 것을 확인할 수 있다.
- 콘솔에서도 Servlet 접속과 파일 이름을 확인할 수 있다.